There’s something about nails that amplifies a lot about a person’s personality. They may be small but nails say a lot about a person. When your nails are a mess, you feel like a mess. This can be summed up into polished nails equals a polished life.
As the internet opened a lot of opportunities in the world, creativity soared to new heights amongst content creators, writers and creative designers. YouTube, Instagram, and Pinterest have been the leading platforms in putting up nail tutorials and featuring nail artwork. What’s beautiful about it is that people with fresh ideas and original designs publish their work for the sake of sharing – and so that we can see it!
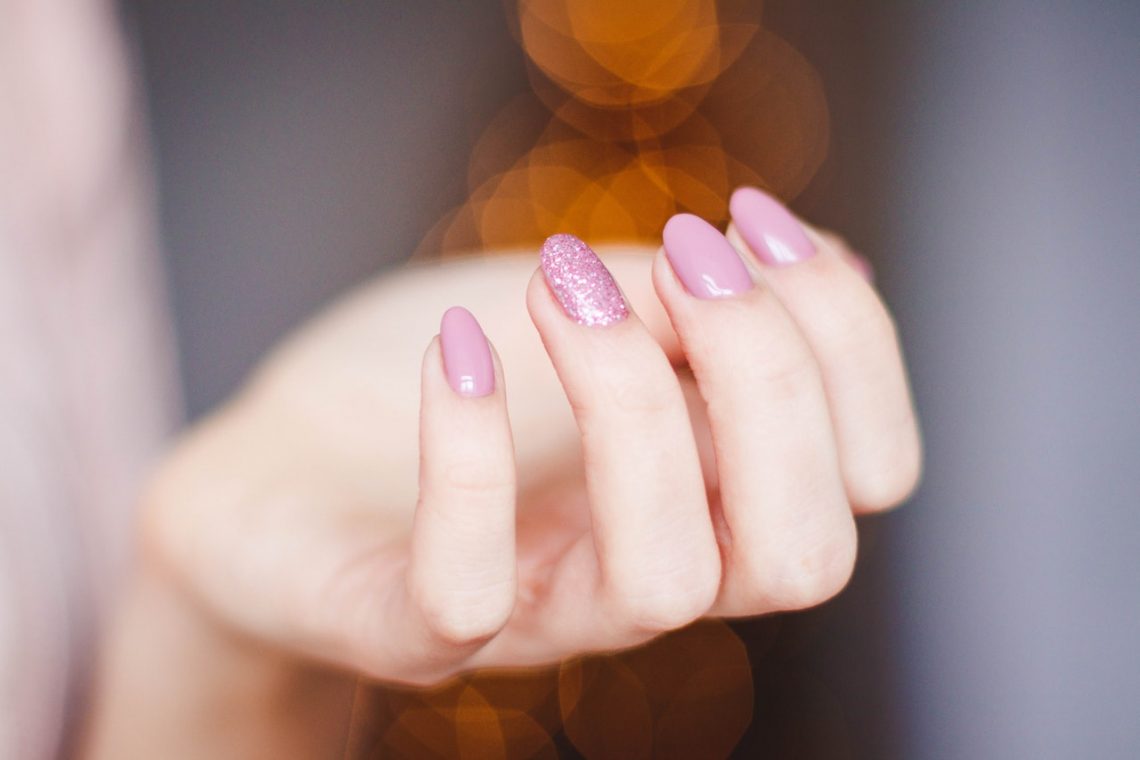
When it comes to pampering ourselves, what’s more relaxing than doing a manicure at home?
Given ample time, the right tools and the right products, this 10 step DIY Manicure might just serve you well – having fancy gel nails are great for events.
STEP 1: GATHER ALL THE MATERIALS YOU’LL BE NEEDING
Since this is a DIY project, you’d be the one doing everything. To minimize unnecessary smudges to your painted nails, layout every tool, material, and product you’d be needing beforehand. Good preparation will save you from standing up. Finding that comfortable position again where you lay the hand you’re working on flat, while other works efficiently on your nails is a lot of effort too.
STEP 2: FREE YOUR NAILS OF CURRENT NAIL POLISH (IF THERE’S ANY), CLIP, FILE, AND BUFF
It’s best to clear your nails of unnecessary elements from the beginning because you don’t want anything that would create bumps to your finished product. On a side note, invest in a good nail polish remover. Acetone can be harmful leaving your hands dry with hard skin around the nails. This may deform your nails or could be in the way of clearing it of excess nail polish which may damage your topcoat.
Soak hands in a bowl of warm water to soften the nails before clipping them. Pamper yourself a little bit here by adding aromatherapy oil and flower petals. Keep the bowls on the side.
Clip it afterwards then file it according to the desired shape. Two chick shapes that you could try are the almond and the squoval (square-oval). Whether you are doing your nails for a formal event or a funky night out, you can never go wrong with these two. Wash your hands with the water you have set aside earlier, after, then file them according to the desired shape. Don’t forget to do so in just one direction. To create a smooth surface out of your clipped and filed fingernails, buff the tops and sides lightly with your nail buffer. Lastly, apply cuticle remover.
STEP 3: PUSH BACK YOUR CUTICLES GENTLY
Do this with the help of your stick or tool. This adds up to clearing your very canvas (the nailbed) of bumps. When cuticles are minimized, it gives instant length to your nail bed that even if it is cut short, it still looks elegant.
Before doing so, soften your cuticles with oil, hand moisturizer or lotion. Cuticles seal your nail from bacteria as they grow out from the nail root. This layer of clear skin is very delicate. It easily gets dried, damaged and infected so avoid cutting them.
STEP 4: EXFOLIATE YOUR HANDS
A hand scrub could help you eliminate dead skin cells and replenish the moisture of the hands, wrists, and forearms. Aid the process with a nail brush to get the dirt under your nails too. Finish exfoliating by washing your hands afterwards then dry them up thoroughly.
STEP 5: MOISTURIZE AND MASSAGE
Moisturize your hands generously touching the nail beds as well to avoid smudging later right at the time the nail polish dries up. By this time, a massage might be timely. Take the opportunity to extensive servicing yourself — the nicest thing in DIY manicure is the little extras like this. Finish this step by wiping each nail with polish remover to take the lotion or oil off that may prevent polish adhesion. Choose the colour you want to apply as you wait a few minutes before proceeding to Step 5.
STEP 6: APPLICATION OF THE BASE COAT TO TOP COAT.
Begin with a base coat and don’t miss this step. This will hydrate and protect nails from being in contact with a strong substance like the nail polish. It will also help prevent chipping of your prepped nails. Apply a couple of coats of polish and seal it with a topcoat. Be reminded that you need to wait a little bit in between coat applications allowing it to settle. Essie Nail Polish’s guru, Essie Weingarten advises 2 full minutes waiting time.
STEP 7: DEALING WITH THE EXCESS
Immediately clean-up excess nail polish at the edges with a clean-up brush or an eyeliner brush. Try to cover entire fingernail by applying nail polish from left to right on an upward stroke.
STEP 8: REPEAT STEP 5 AND 6 SIMULTANEOUSLY UNTIL ALL NAILS ARE COATED
STEP 9: APPLICATION OF THE TOP COAT
Now, the topcoat had been applied actually in Step 5. But what’s important in Step 8 is, if the topcoat protects your manicure from chipping, what protects the topcoat then? It’s the fast dry drops that are applied atop the topcoat. Do that here.
STEP 10: CLEAN UP ROUGH EDGES AND LET NAILS DRY
This is the last wrap up of double-checking if you missed any smudge. You may clean this up by wrapping the tip of your cuticle pen with enough amount of cotton and then using it to go over edges. Nail polish remover pads are best folded into a triangular shape with an edge exposed for more precise clean up. Spritz fingernails with a fast-dry spray then let the nails dry up completely.
This DIY procedure began with Step 1 since basically in gathering tools, nothing of the DIY was started yet. So if you think about it, 10 simple doable steps that will help you save a lot? Why not? Be safe with the chemicals and have fun with these DIY Manicure hacks! Enjoy exploring your design preferences!